

There’s a great way to spruce up your property and it doesn’t need to break the bank. Adding stonework around your home is not only functional for walkways, patios, and walls, it’s also a great way to add detail and beauty to your landscaping.
Cait and I bought a Greek revival built in the 1860’s. The previous owners had already added a patio, stone walls and walkways using flat field stones – a material readily available during the 19th century.
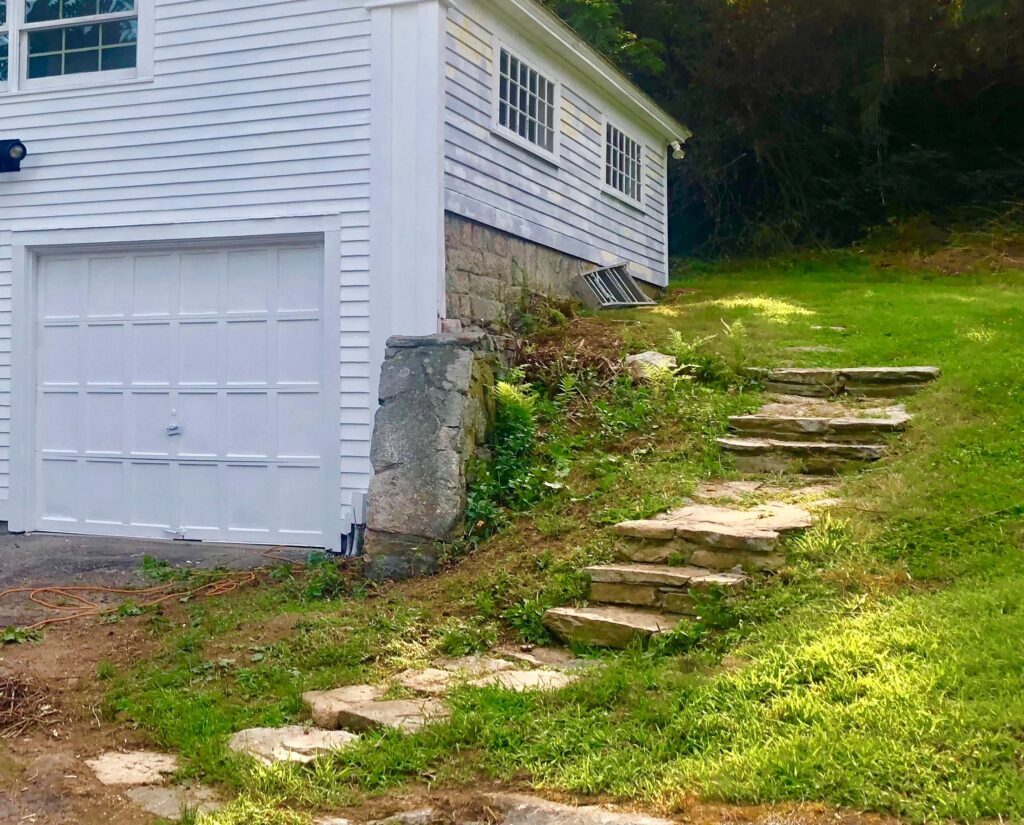
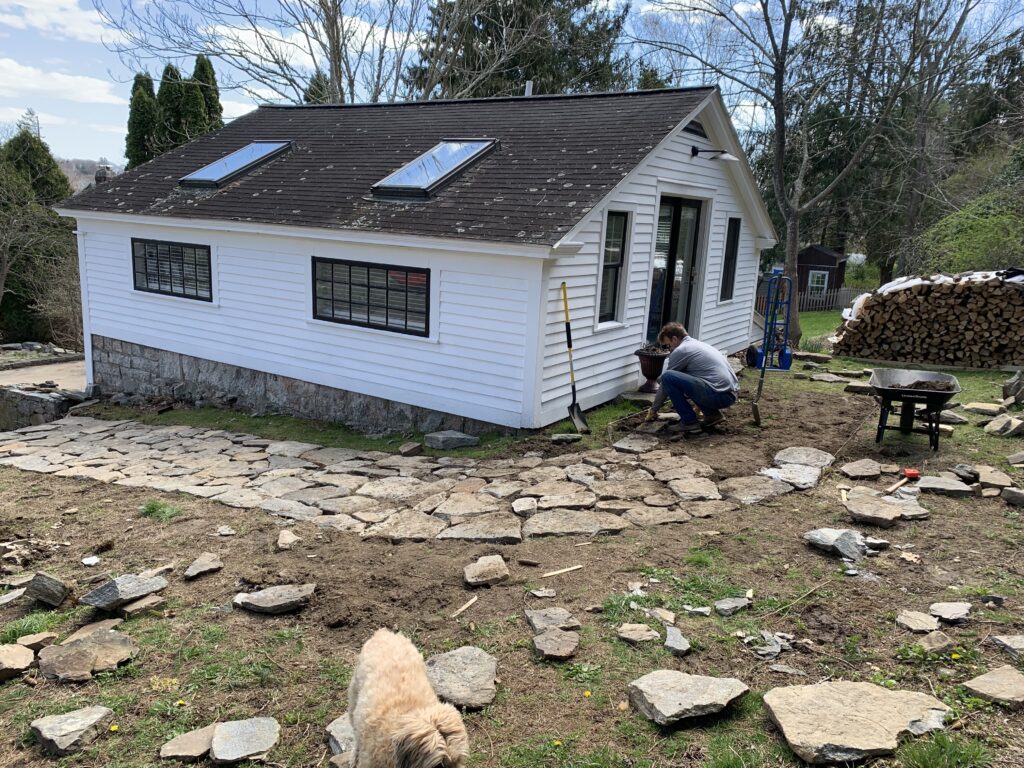
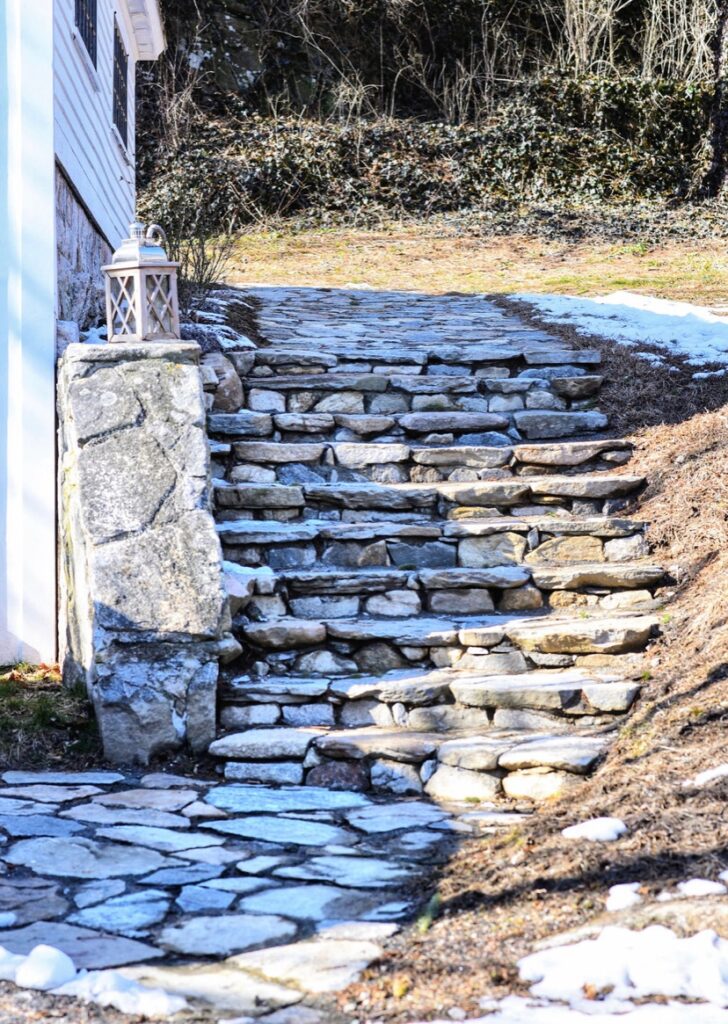
We wanted to continue that period-look alongside our guest cottage set into a small hill by building a set of stone stairs and a walkway that could provide safe access to this structure. I contacted a few professional masons to receive quotes for the installation. The best estimate I got was $10k!
Since we already had several other home projects to outsource, I decided to build the walkway and stairs myself.
This may sound complex but it is actually easy! I will walk you through the process of building a stone staircase and walkway….
I had quite a few field stones left over from a small patio that we removed when we first moved into the house. I purchased additional stones for a few hundred dollars at a local supply store. Once you have the materials, the process to create the stonework is straightforward:
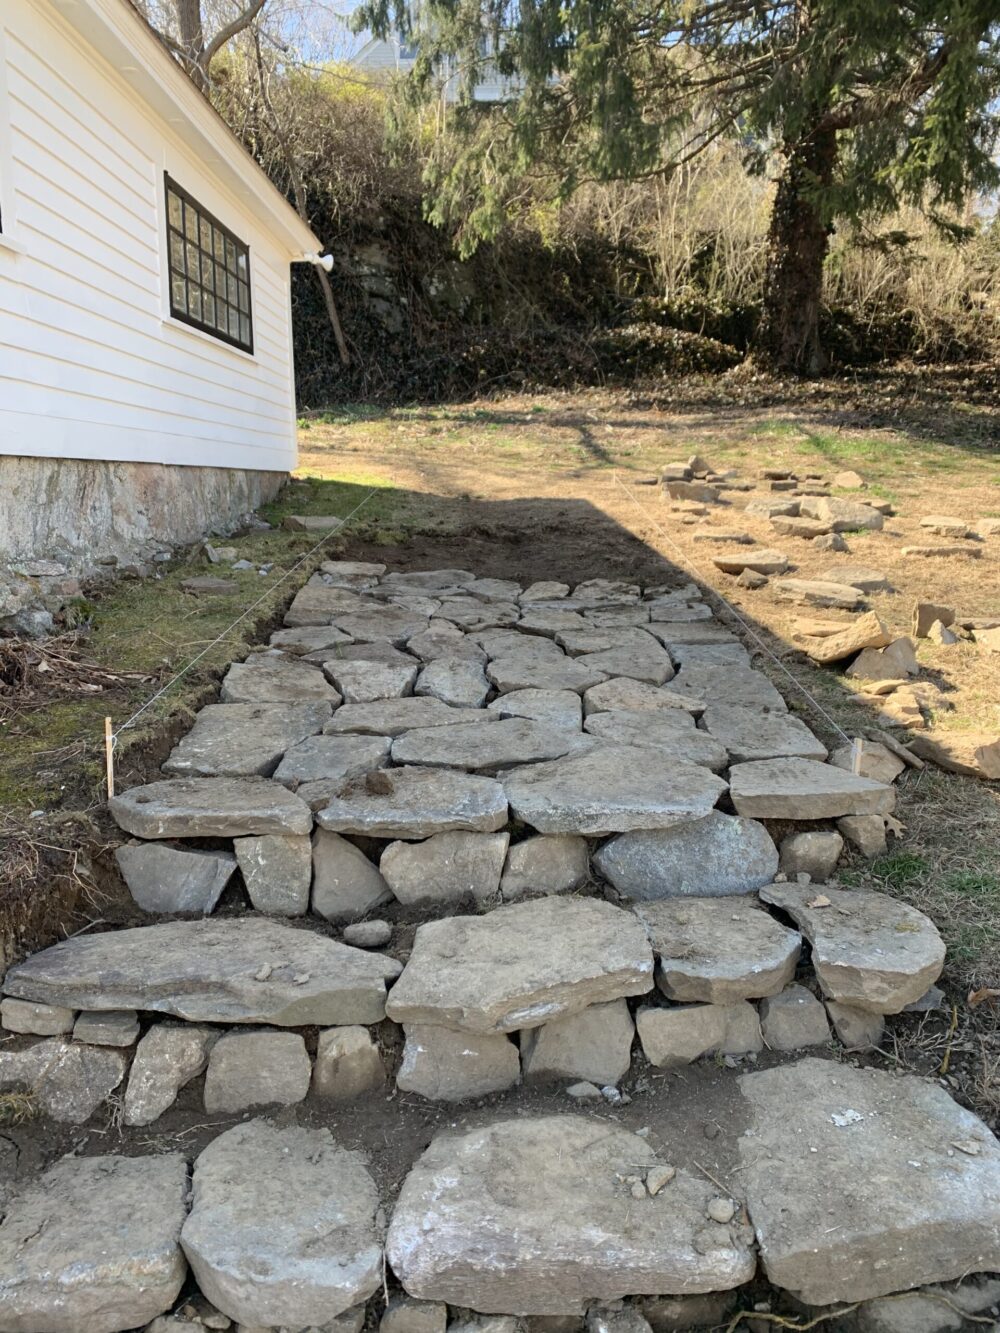
Step 1: Stake out the width of the stairs and walkway with twine. I wanted the stairs to be 6 feet wide and the walkway to be 4 feet wide.
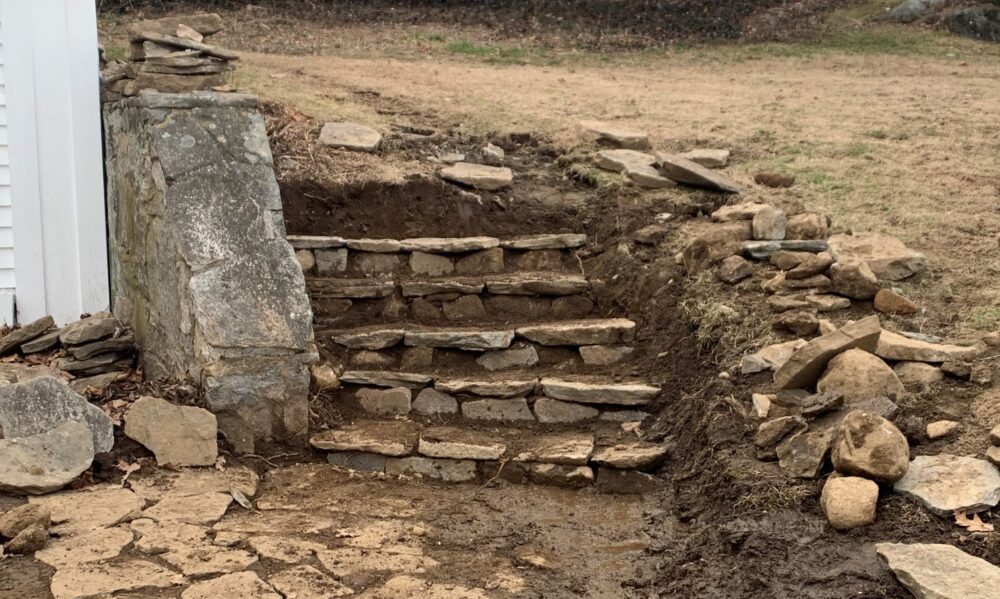
Step 2: Dig into the hill with a shovel creating dirt stairs, roughly 8 inches high per step.

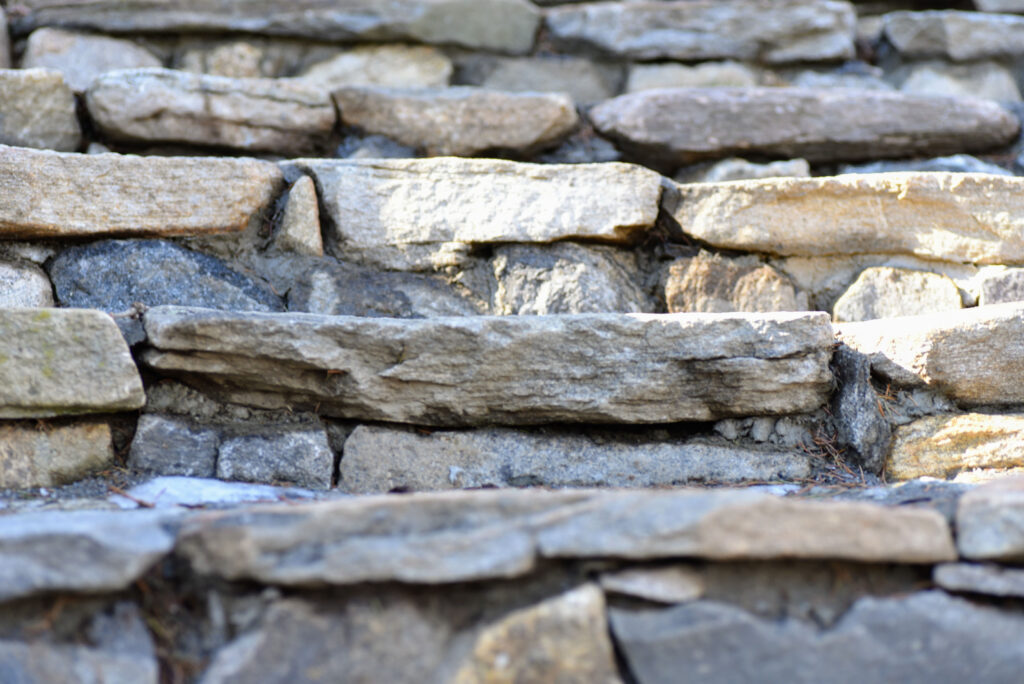
Step 3: Lay the stones in a tight pattern, stacking smaller ones on their side for the rise of each step and flat stones for the tread.
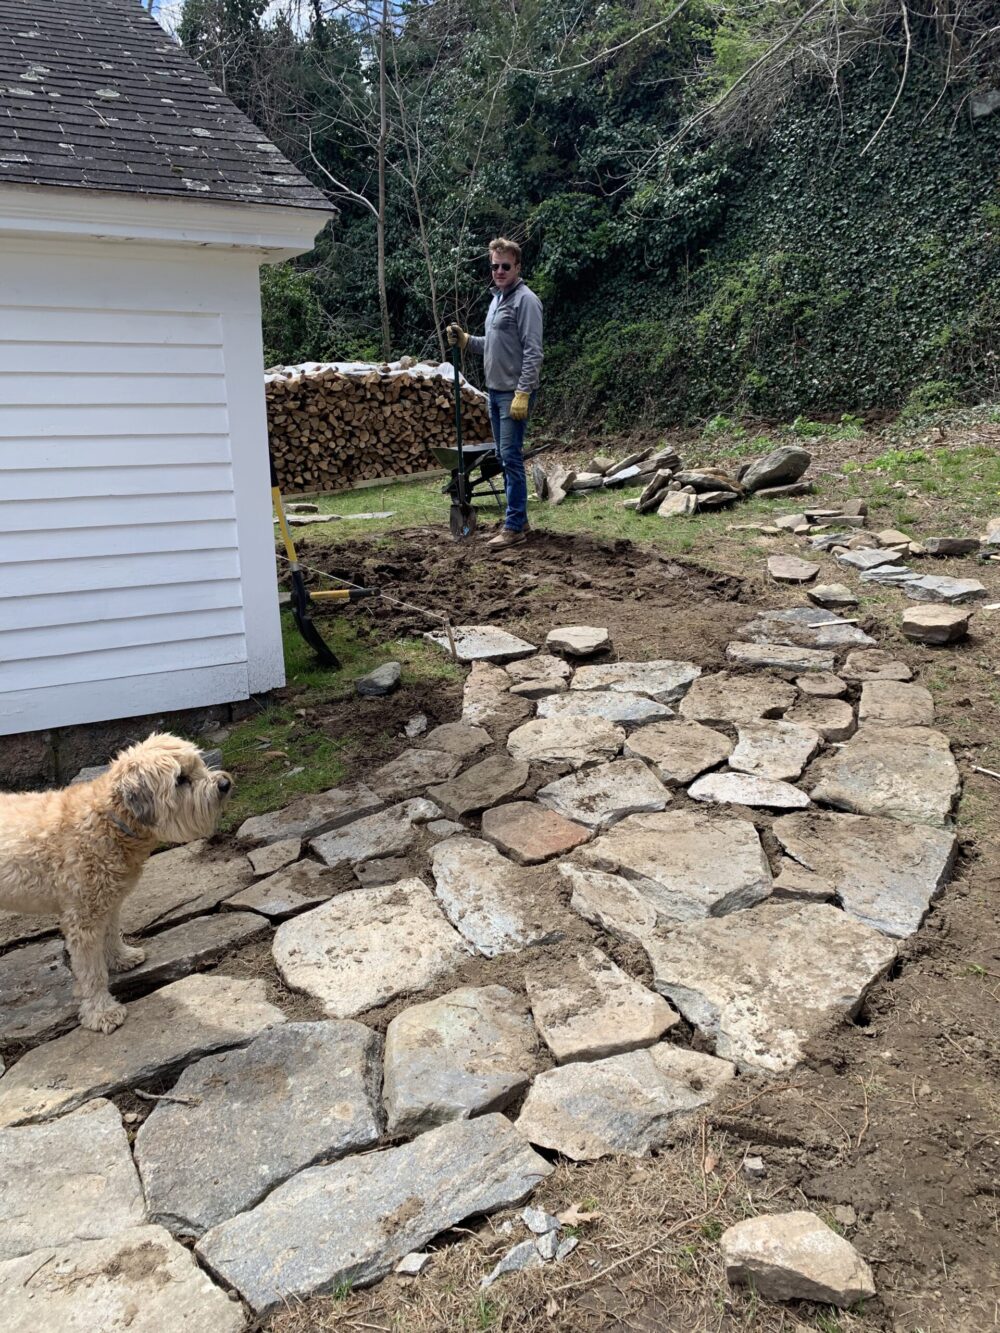
Step 4: At the top of the hill, I dug a four-foot wide path, and roughly 3 inches deep, to place the stones for the walkway.
Step 5: Once I had all stones placed in a pattern, I removed them and located them in the same pattern next to the trenched area.
Step 6: I then ordered 2 tons of stone dust for $300.
Step 7: I spread the stone dust in the area where the stones will sit. This allows the stones to settle tightly and evenly.
Step 8: To complete the stairs, I mixed concrete and locked in the stones for the rise and steps.
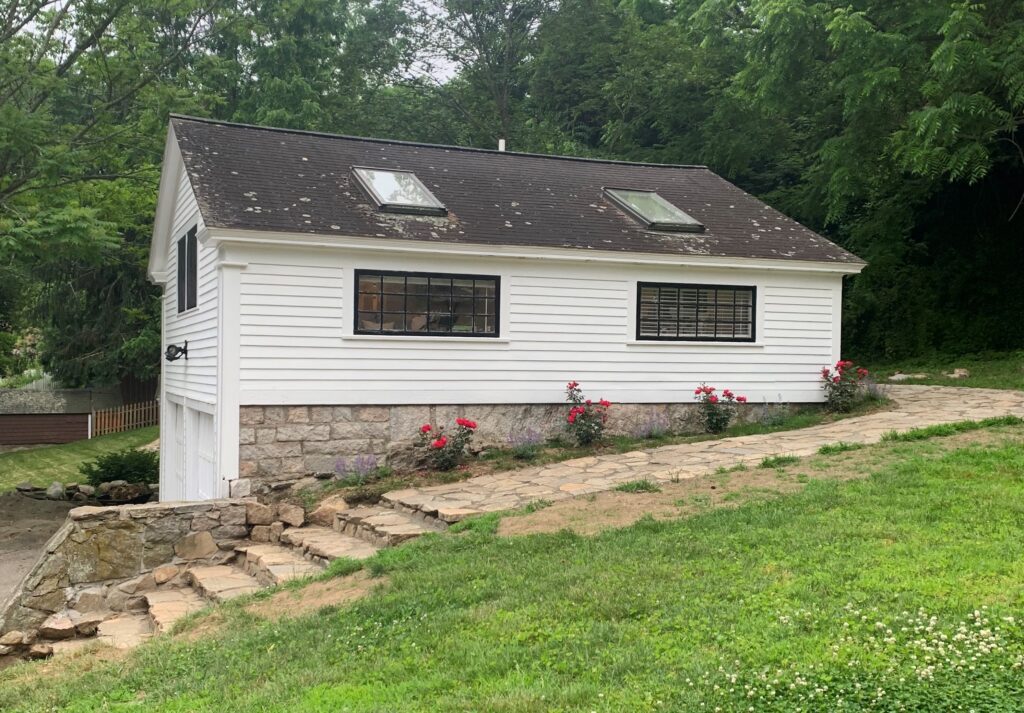
Step 9: Depending on your preference for gap space between the stones, you can plant grass, moss or fill in space with polymer sand to leave a concrete look. To apply, simply spread the sand over the stone and sweep into the gaps between the stones using a broom. Once you have cleared the stones of the dust, simply spray with water and let dry.
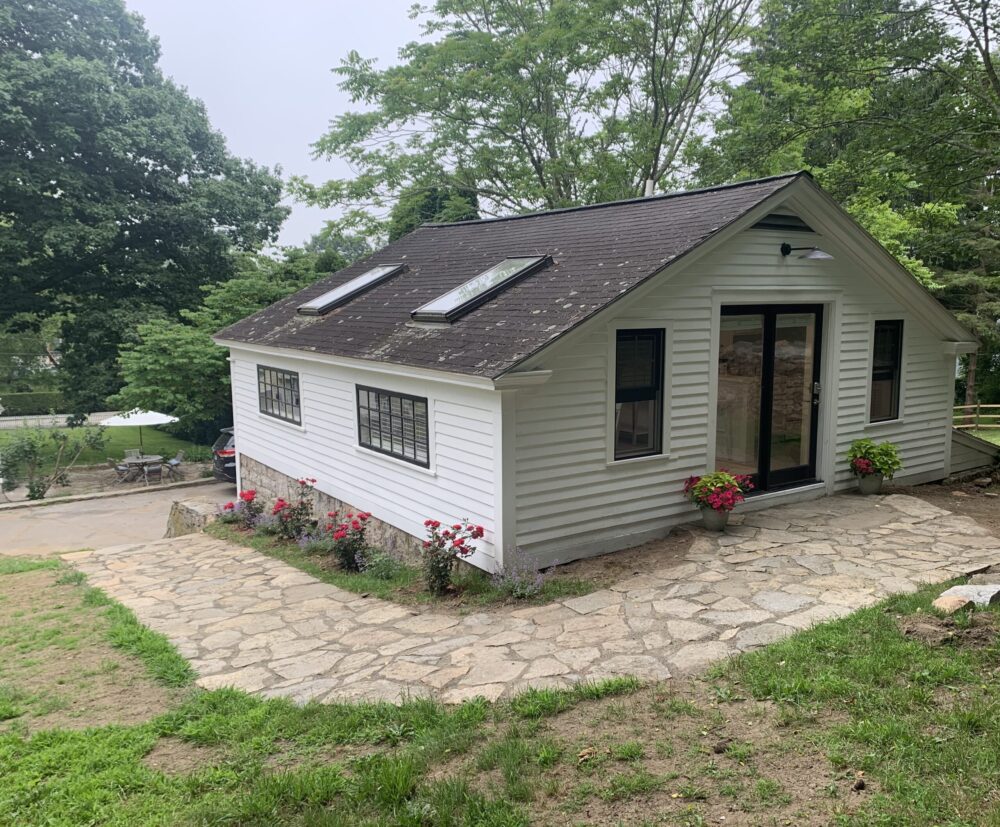
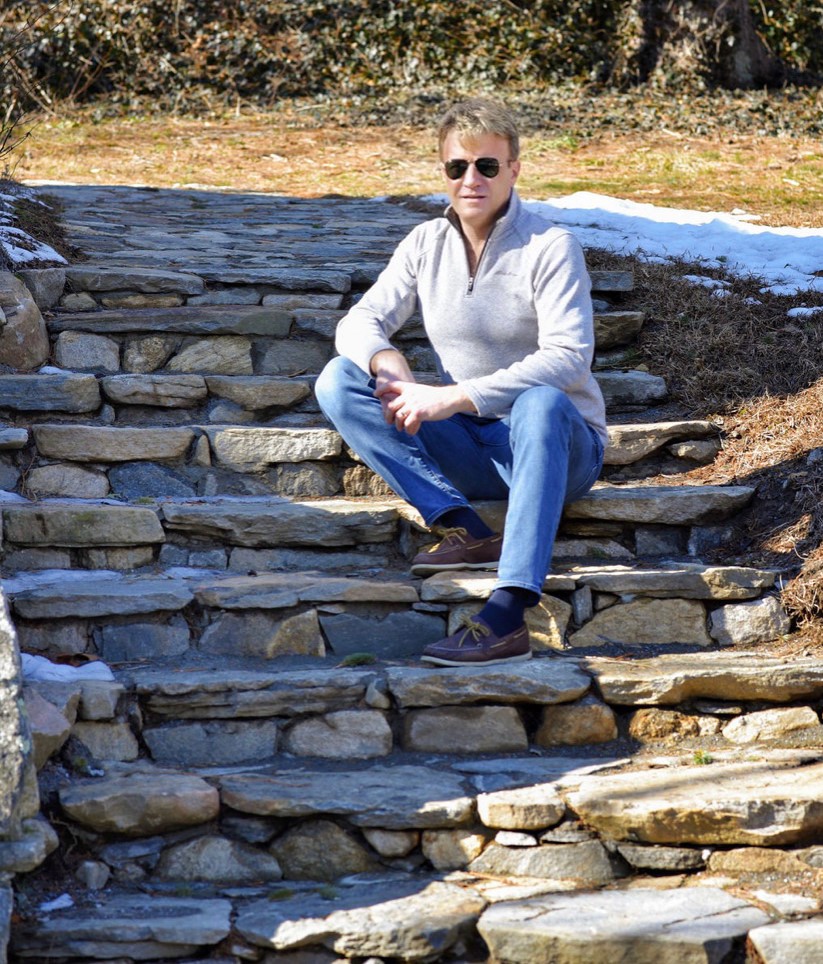
And that’s it! A project that would have cost me nearly $10,000 to outsource, cost me $600 total.

